

Git: the version control system
The appearance of git in 2005 brought open-source large project collaboration to a new light. It eased the burden of sharing files and making updates amongst different people. You could say it brought people together like Facebook did.
Git is a version control system that allows you to create, manage, update and delete your commits (a specific saved piece of code easily). It does this through a bunch of commands that happens when you install git.
How to install git
• To install git, you type “git download” on google or any browser that you are using, and click on the first link, or you copy and paste the link below. Download GIT

• You then choose the one that is most compatible with your computer system or laptop. In my case, I am using windows, so I download for windows.
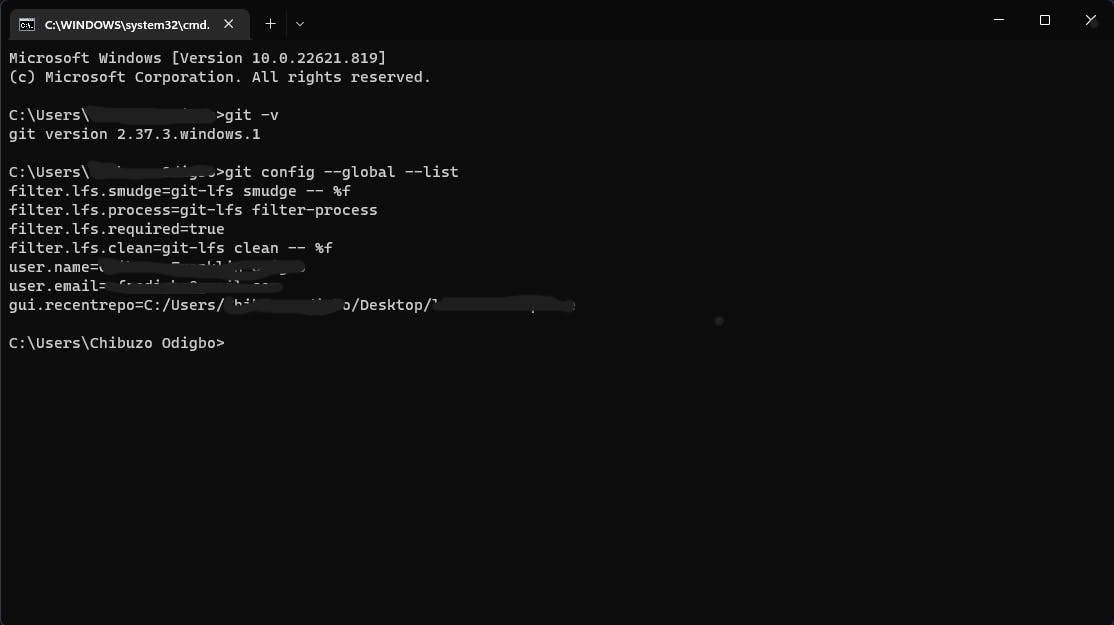
• When the download is finished, you then install it from the folder you saved it in, then you are good to go. To know what version of git you have installed, using the Git Bash or your terminal, you can type “git -v” or “git --version”. Then if you have installed git properly, you would see the version of git you currently have installed.
Now, to get git to actually start registering your commits, you first have to link it to your GitHub.
What is GitHub
Now, GitHub is and online code storage system, that helps you manage your code, save it to the cloud so you can recover it later on any device. It is also used to share works, so that others can be able to see your code and learn from it and vice versa.
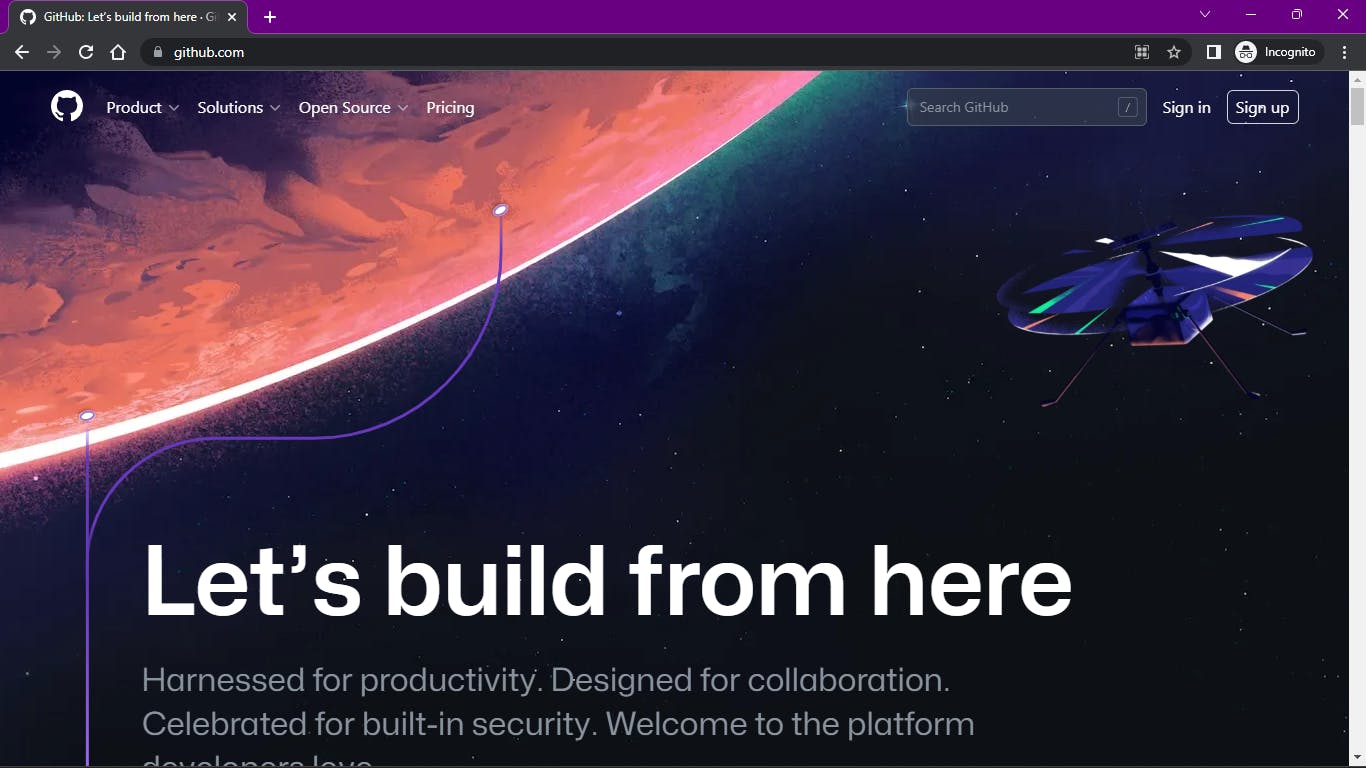
To create a GitHub account, you first go to the GitHub home page by typing github.com on your browser, or going through this link. Register on Github
You then proceed to input your email address, and follow the steps to create your GitHub account. You would be required to verify your email, so you should have it signed in. I would advice you use a laptop for this, as it would make the whole experience easier.
With this, you can now create repositories on your GitHub.
What is a repository?
A repository or repo is just a name, like the folder on your desktop where you can go to view the documents or other folders embedded inside. But unlike the folder, repositories can be seen by everyone who searches you on GitHub.
There are two types of repositories, the public and the private. A public repository is one that is open for everyone to see, whilst a private one is only made for you the owner to see. You may choose to make a repository private if you do not want anyone to see what you are working on, but want to secure your code and its commits so you can work on it anywhere.
This brings me back to how you can get started with git.
How to get started with GIT
Now, git has a bunch of commands to help guide you through your works. Now, to start to make use of those commands, you have to make git recognise your GitHub account, with your username and password. This you have to do globally (everywhere on your system and on the cloud) so git recognises it to be you. You can do this using your terminal or the git bash that comes installed with git.
We start with a simple;
git config --global user.name “Your username”
Then tap enter on your keyboard. This tells git that this is your preferred username, and should identify you with it.
Then, to register your email, you do;
git config --global user.email “your@email.com”
To confirm what you have done is right, you then do;
git config --global --list
This shows you your username and email, amongst other stuff. It just tells you the information of the last session with git, and shows you the last repo you worked on with GUI.
You can do this process before you get registered with GitHub, but I advise you get registered with GitHub before you install git on your system. Then you would not have to do this as git automatically parses and does everything for you (based on personal experience).
Now that we have done this, we can now start to use git to track and make commits to our repository.
How to initialise a repository using git.
First, create a folder on your desktop, and give it any name you’d want.
Next, route to the folder on your desktop using cmd
cd desktop/foldername
Then, proceed to initialise the repository using the git innit.
git init

This would initialise a repository on your git hub for you. You can then start to commit and update your code run on your local computer. Take note that this can also be done using the vscode terminal, as it has a terminal that helps you to do this with ease. In this case, you would have to open the folder on vscode if you have it.
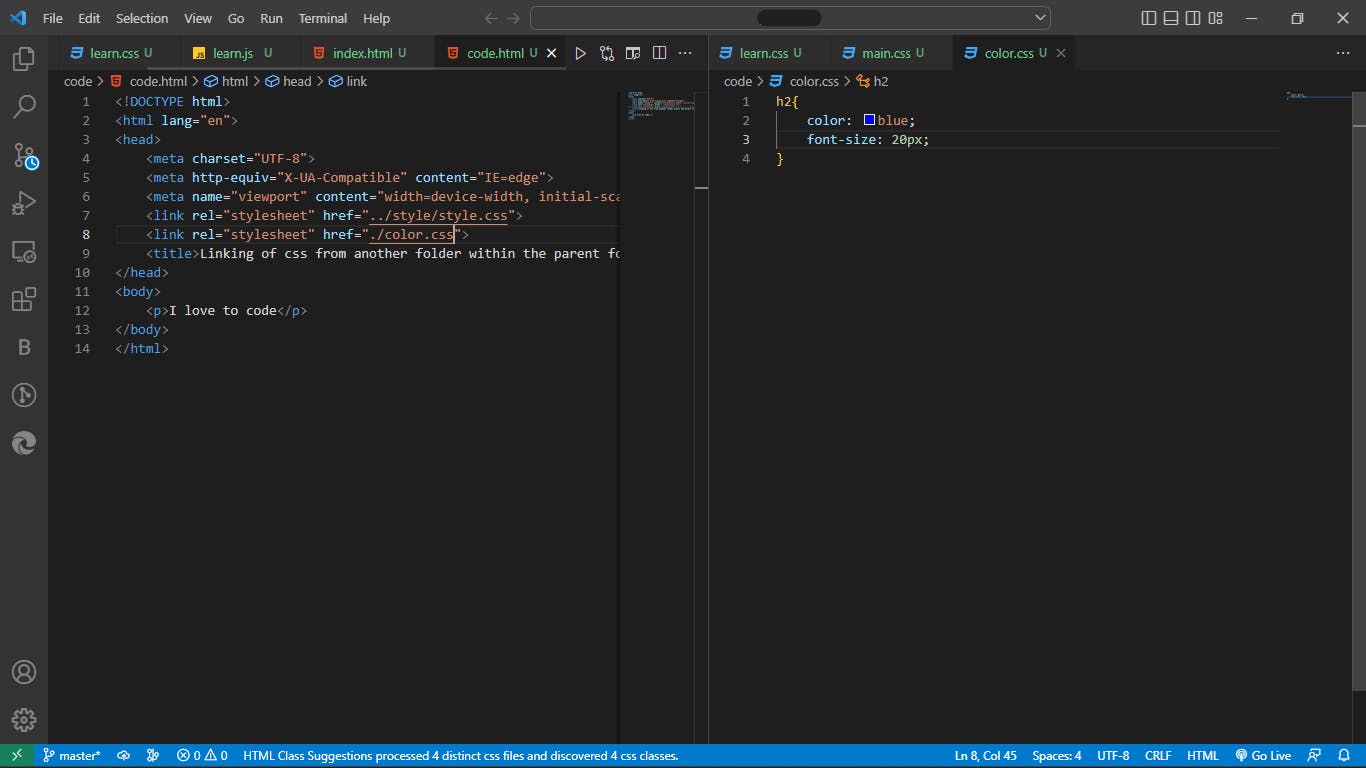
Vscode is an IDE (integrated development environment) that helps one to write and manage code. It was developed by Microsoft, and is one of the most vastly used IDEs because of the many code extensions it offers, and its seemingly seamless integration with git and GitHub.
To open code on your vscode via your terminal or command prompt, you type
cd/desktop/foldername
This opens up the folder on your terminal, the you type
code .

Then click enter. Vscode pops open with the folder already open. You can then initialise the repository on the terminal embedded in vscode using the methods above.
There are a bunch of other git commands, like;
Git pull: this is to request for a contribution you made to a repository to be merged with it.
Git push: this is to push your codes to your repository, or to a specific branch in that repository.
Git merge: this is to merge the changes made on a branch to the main or master of your repository.
Git clone: this is to clone a repository you want to contribute or to work on. It is usually followed by the url of the repository you want to clone.
To create a branch on git, all you need do is
git branch branchname
Then to navigate and start to commit to the branch you have created, you do;
git checkout branchname
This navigates you to the branch you have created.
To go back to the master branch, simply do
git checkout master
This is just one of the simple ways to start with git.
I do hope you have followed me through this, and I hope this would help you appreciate and start to use git, as it opens up a whole new world of collaborations and code credibility.
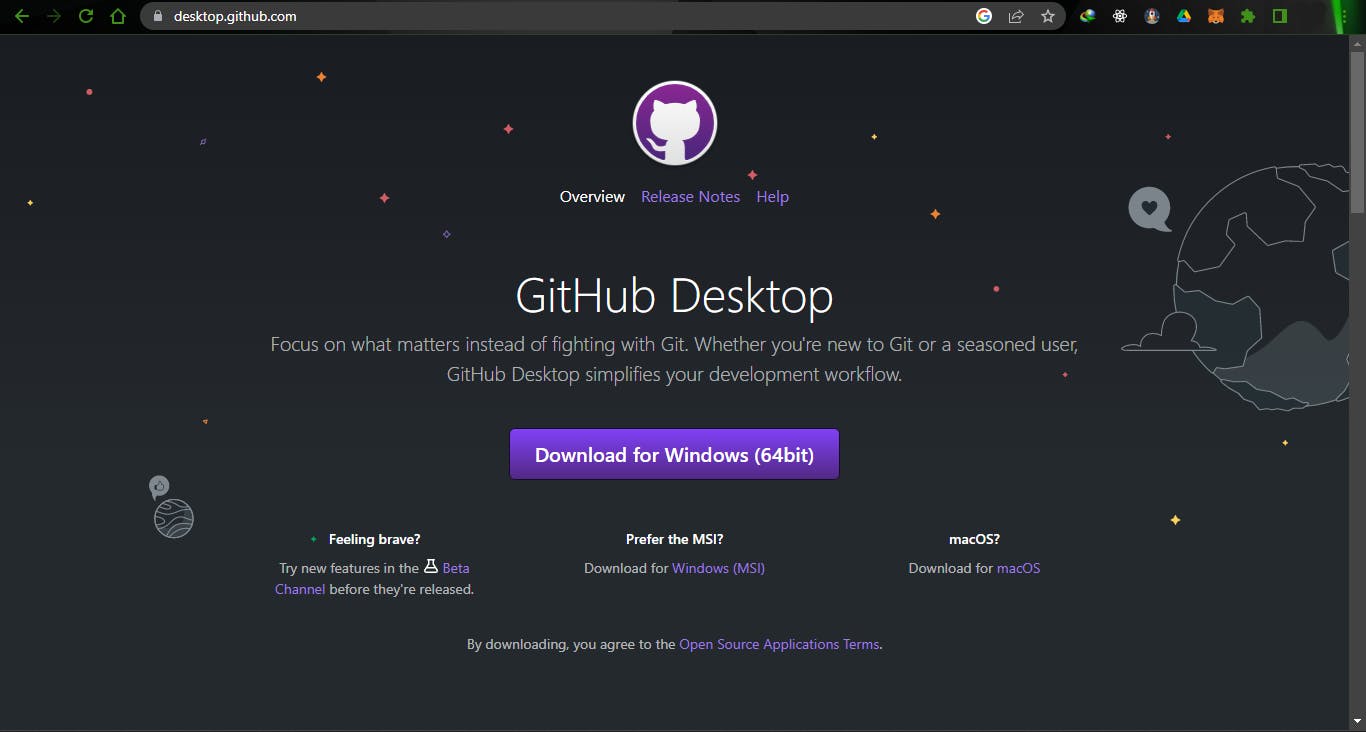
You can also get GitHub desktop, by going to this link Download GitHub desktop. It also helps to track commits, and makes the whole organisation of code better.
To get a more concise and complete guide, you can visit this site: The complete guide to using git